The gorgeous Bird’s Nest Fern, whose name comes from the nest-like center of the plant, is not your typical fern. Hardier than most of its kind, the Bird’s Nest Fern boasts thick, waxy leaves that slowly unfurl to create a beautiful and unique accent on a table, shelf, or bedroom dresser. But though it trumps most other ferns in terms of maintenance, it is still unforgiving to things like too much sun or an inconsistent watering schedule. Read on to find simple tips on how to care for and grow your Bird’s Nest Fern.
How much light does the Bird’s Nest Fern need?
This plant prefers medium to bright indirect light, and will scorch in direct sunlight. Ferns can also adjust to medium-low light over time.
How often to water your fern
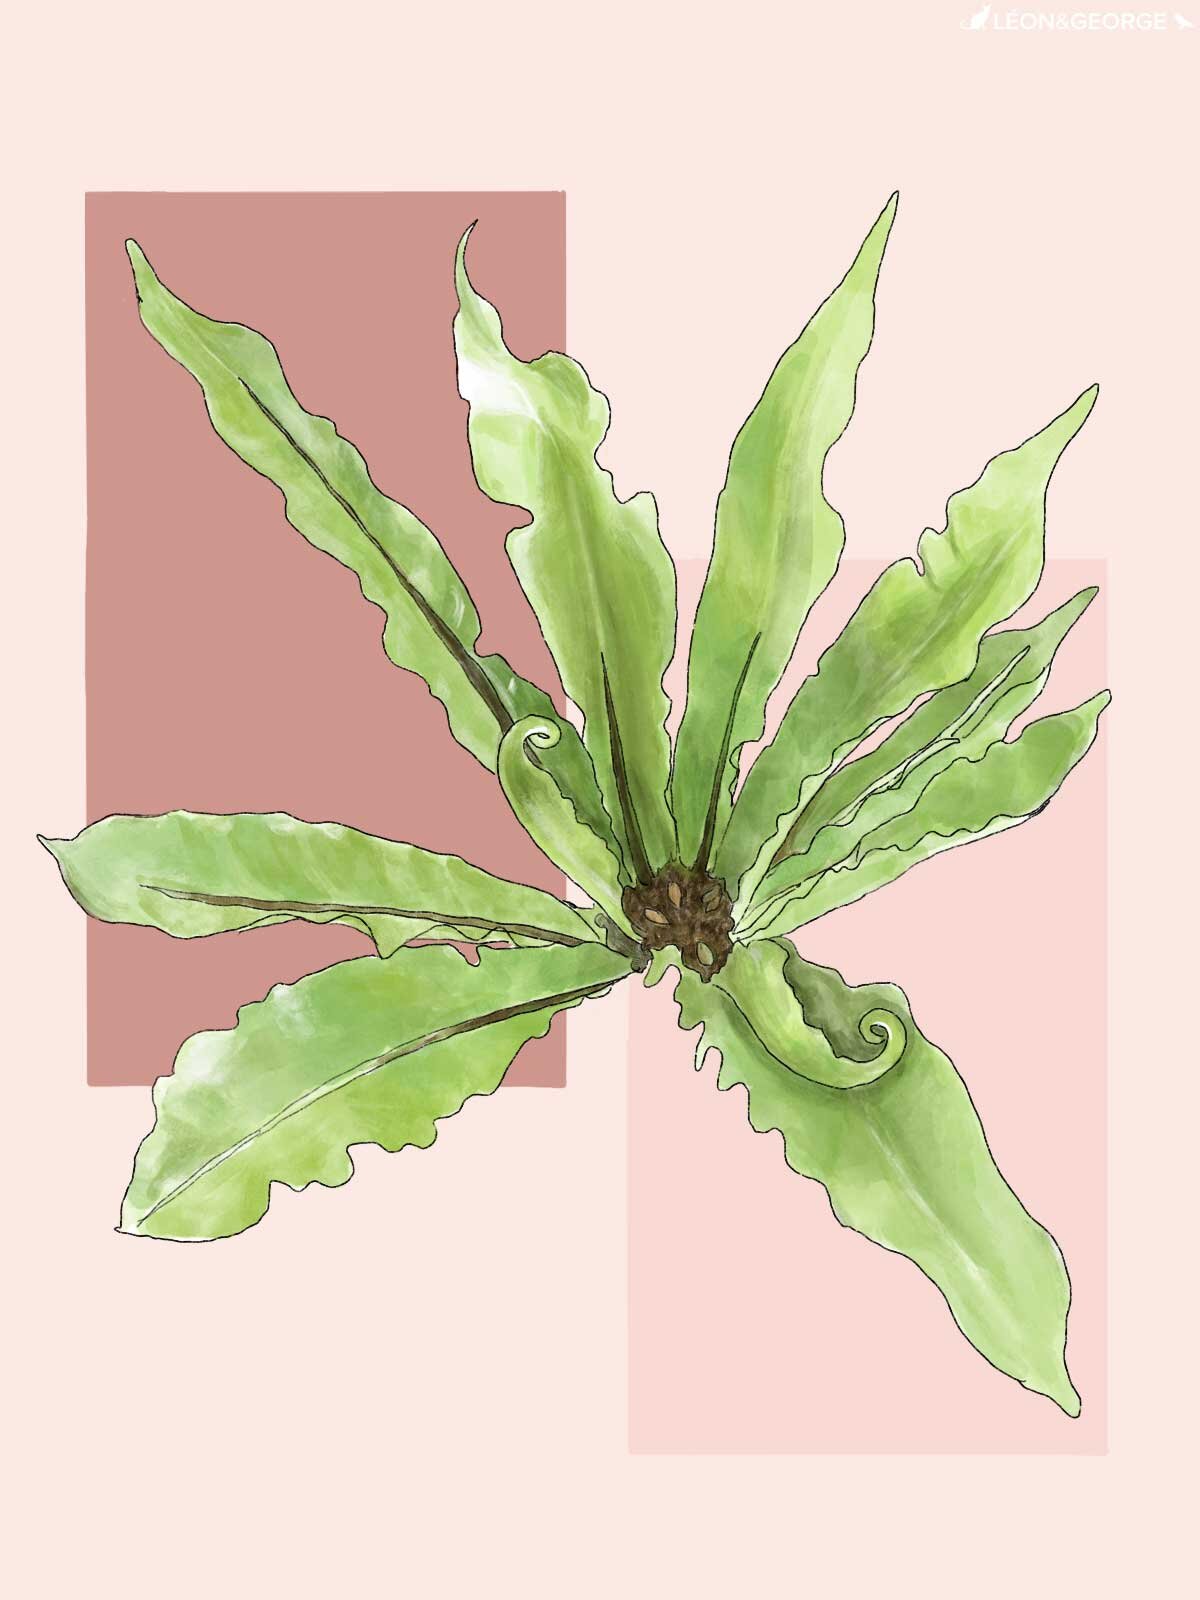
Keep the soil evenly moist, never allowing it to completely dry out. Water around the edge of the pot and never in the center of its “nest”, a watering can with a long spout will help you be precise!
Bird’s Nest Fern Growth Rate
In prime conditions, the Bird’s Nest Fern will unfurl new leaves regularly from the center of its “nest”. Fertilize once a month during spring and summer, and consider foliar feeding year round.
Common problems with Bird’s Nest Fern
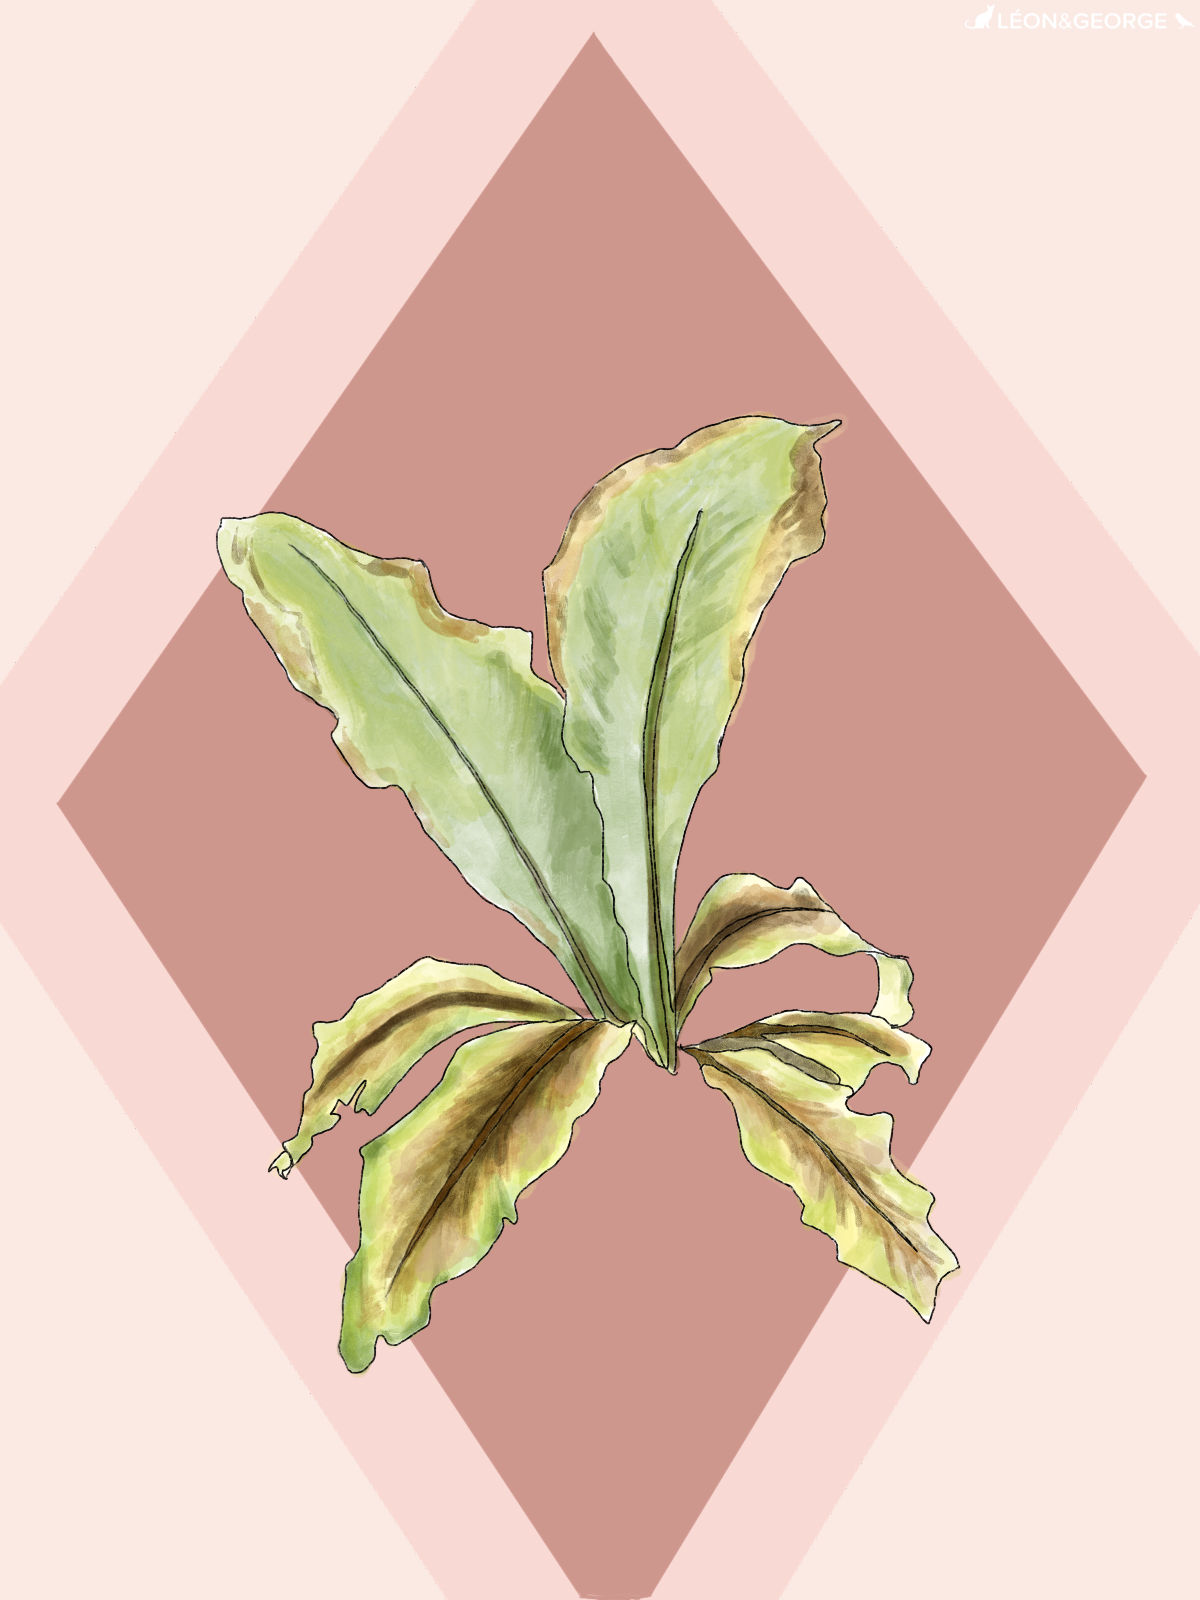
Pale leaves - too much light
Symptom - pale, yellowish leaves
Cause - too much light
Remedy - Bird’s Nest Ferns do best with medium indirect light — avoid putting the plant in a place where it is exposed to too much light or direct sunlight.
Brown edges - underwatering, too cold or too dry
Symptom - leaves turning brown at the edges
Cause - most likely underwatering, but could also be that the temperature is too cold or the air is too dry
Remedy - Be sure to keep a consistent watering schedule to ensure the plant’s soil is just moist to the touch. You may also mist the plant weekly to boost moisture levels, and make sure it is not placed near any air vents, heaters, or air conditioners.
Yellow and/or wilting leaves - overwatering
Symptom - yellowing or wilting leaves
Cause - overwatering
Remedy - Unless a very minor case of overwatering, you will most likely need to repot your plant to avoid root rot. See instructions below on how to repot a Bird’s Nest Fern.
How to maintain a beautiful and healthy Bird’s Nest Fern
Take care of your Bird’s Nest Fern and it will take care of you! Below are simple tips to continue caring for and growing your Bird’s Nest Fern over time.
Pruning
The birds nest fern does not need much pruning, though it is normal for lower leaves to grow old and scraggly, in which case you can remove them at the base with sharp, clean pruning shears.
Cleaning
Take each leaf between two soft tissue cloths and wipe off the top to reveal a healthy shine (also helps the plant soak in more light!).
Repotting the Bird’s Nest Fern
Ferns generally do not become rootbound, but if the plant is looking unstable or that it might “fall out” of its pot, consider repotting into something slightly bigger with fresh soil.
Houseplants grow much slower than they would in the wild. Depending on the size of your plant and the density of the roots, this is nice to do every 2-3 years to provide fresh nutrients and encourage new growth.
When to repot - if or when the plant looks unstable in its soil, it is time to repot
Pot sizing - if you want your plant to grow taller, find a nursery pot that’s 2” in diameter larger than the current pot.
Get your hands dirty - spread out newspaper on the floor, remove the plant from the pot and shake off as much of the old soil as possible so that you have clean roots. Place the plant in the center of the pot, add new soil and pat down firmly. Water the soil thoroughly and place the plant in an area with bright indirect light. Your plant will take 2-4 weeks to settle from the shock and adjust to its new home.
How to propagate a Bird’s Nest Fern
It is very difficult to propagate Bird’s Nest Ferns, though if you would like to try, it is best to use tissue culture method.
Harvest spores - The spores of your bird’s nest fern look like tiny brown lines on the undersides of the leaves. When the spores have grown large and fuzzy, trim the leaf they are growing on and carefully place the leaf in a paper bag. The spores should collect at the bottom of the bag after a few days.
Germinate spores - Place the spores on top of a small pot of sphagnum moss, and place the pot in a dish with water. Make sure there is always water in the dish, and mist the spores on top daily. After 2-3 weeks, they should begin to germinate.
Repot in fresh soil - Once you seedlings, pot in fresh soil and keep consistently moist for the first 3-4 weeks.
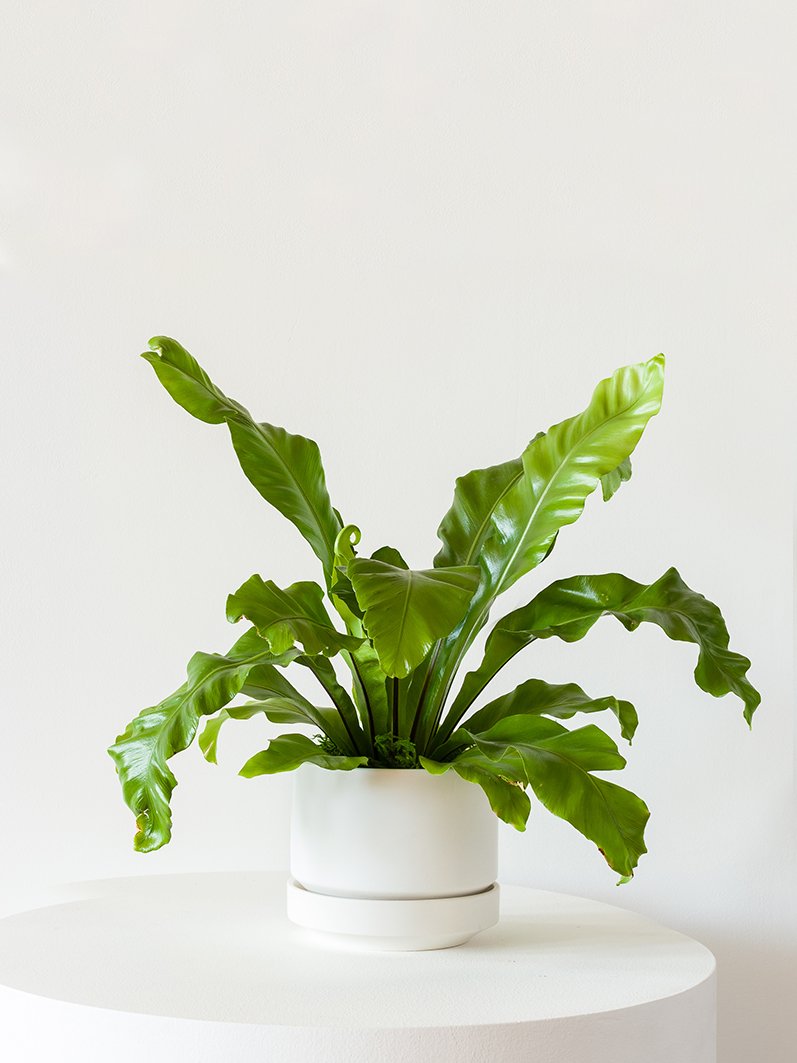
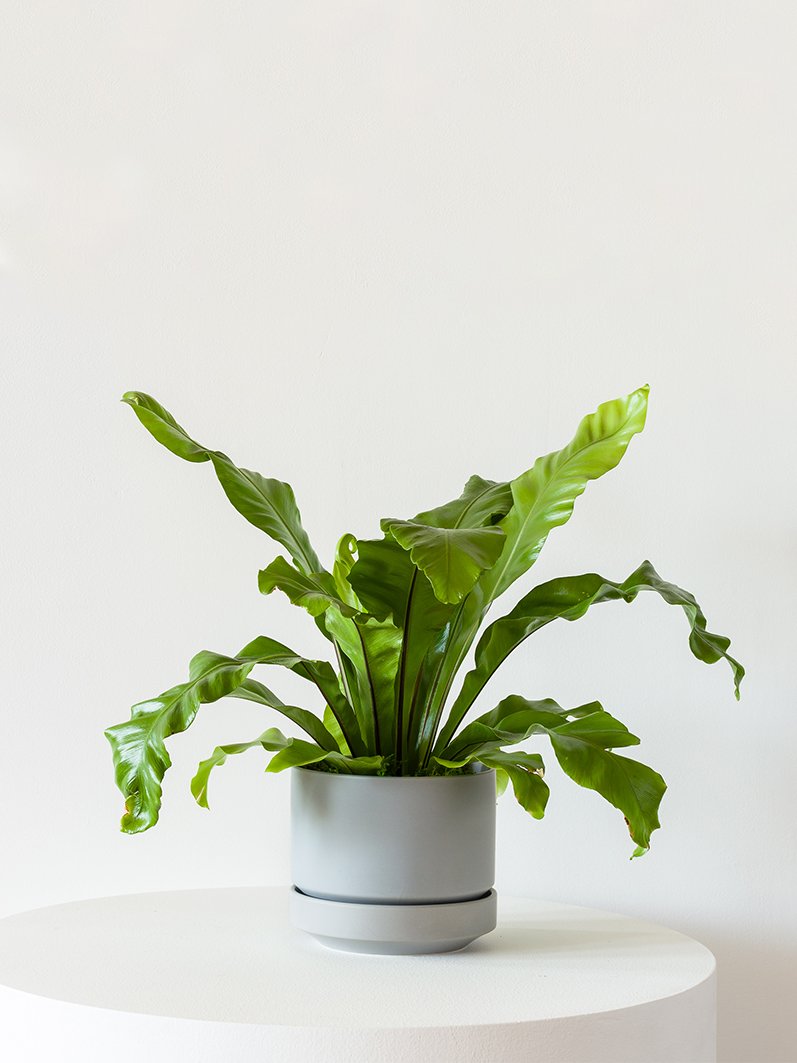
Bird’s Nest Fern
A resilient indoor fern with large wavy fronds grow in a circular pattern, resembling a bird’s nest.


