Our Super Neem Oil is pre-diluted, infused with eucalyptus oil and easy to use on houseplants.
What is neem oil?
Neem Oil is a vegetable oil pressed from the fruits and seeds of a (can you guess?) Neem Tree. It can be both preventative and a cure for challenges with insects like scale and gnats, as well as a great contributor to overall health.
Neem oil benefits
Neem oil functions as both a insecticide and fungicide for all living plants, treating and preventing leaf fungus issues like powdery mildew or common pests like scale or mealybugs. As an all-natural, non-toxic product, it’s perfectly safe to use in a home with pets or children.
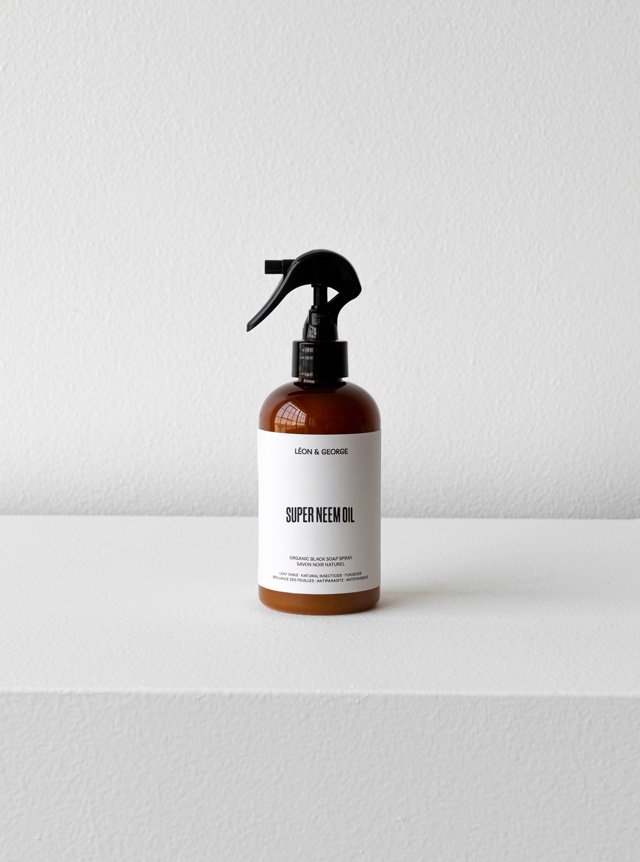
Super Neem Oil
A natural and effective pesticide, miticide and fungicide used to treat all types of infestations commonly seen with both indoor and outdoor plants.
$24
How to use neem oil on houseplants
There are many different ways to use neem oil on houseplants to improve their overall aspect and well-being. Here are some of the most common uses of neem oil with indoor plants:
Apply directly to soil
Neem oil gets soaked in through the roots and deters living insects from eating, mating, and in most cases will stop larvae from hatching in your houseplant’s soil.
Spray on leaves
Mix neem oil with warm water and spray on the undersides of leaves where insects and eggs tend to reside.
Shine the foliage
Neem oil can also be used as a natural leaf shine on houseplants. After spraying diluted neem oil onto the leaves of your plant, gently wipe each leaf to get a nice even shine.
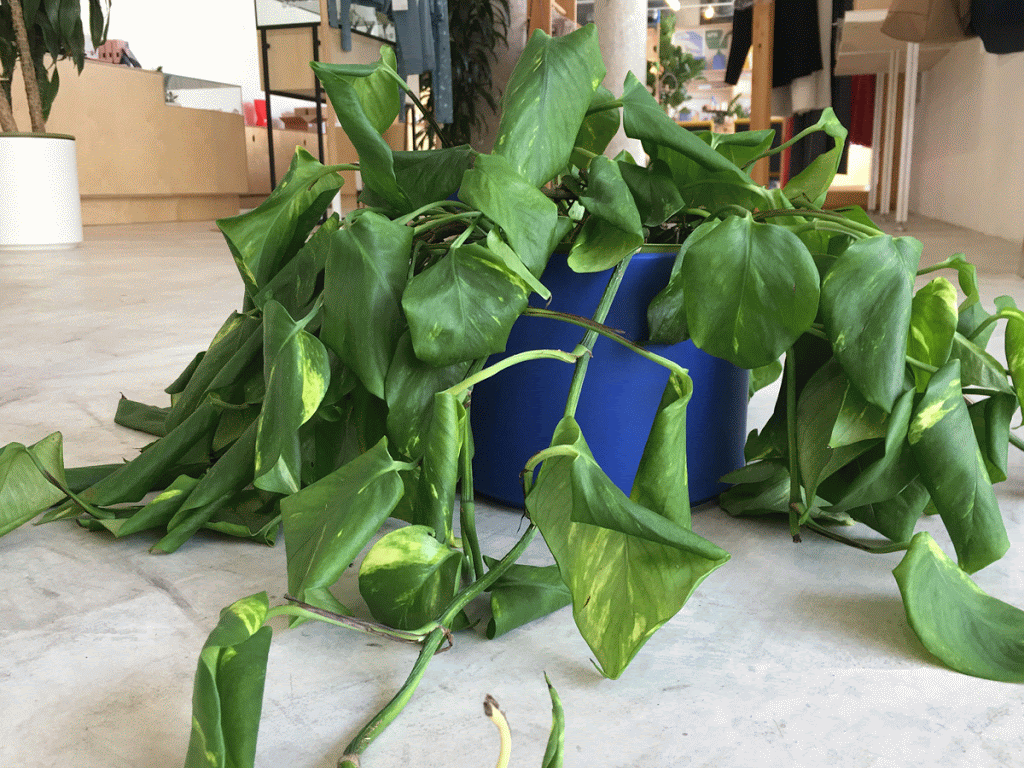
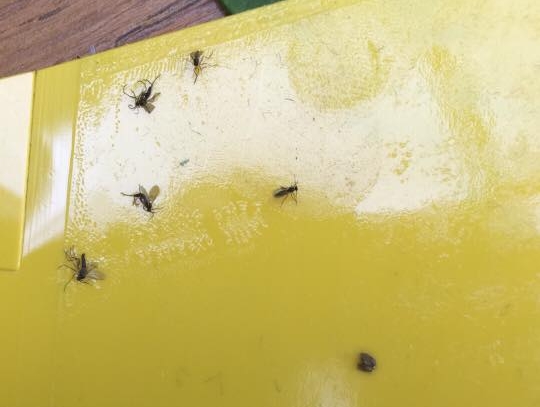
How to use neem oil for infestations
Neem oil is an excellent natural solution for serious pest infestations such as scale, mealybugs or gnats. Simply spray the entire plant—leaves, stems, and soil— with neem oil once a week until there are no more signs of pests on the plant. There is no need to wipe it off. Be careful— some neem oil comes in concentrate and will require diluting. Our Super Neem Oil is pre-diluted and ready to use on your houseplants.
Is neem oil safe?
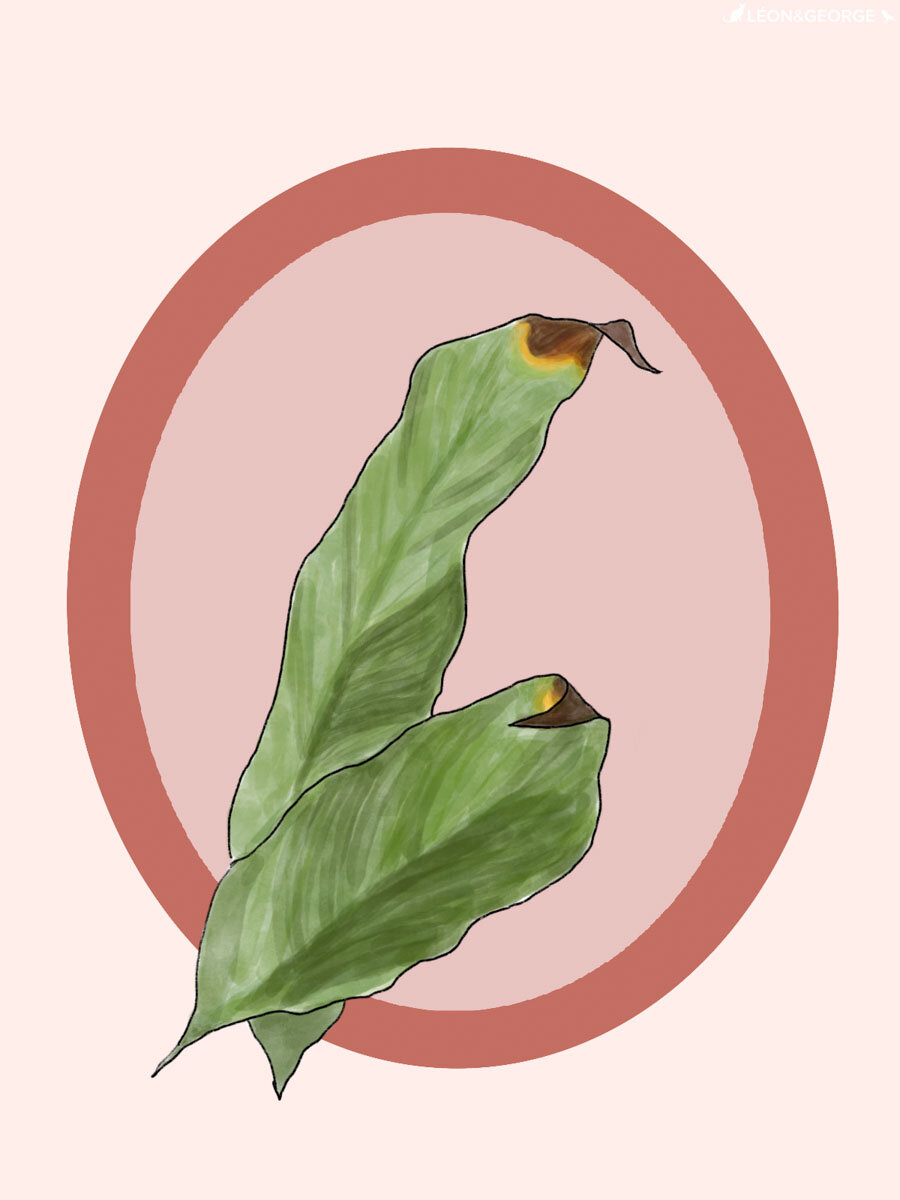
Neem oil is a 100% natural product and perfectly safe to have in the home. Some plants may be slightly sensitive to neem oil, so do a spot test first on a small area of a leaf. New growth or young plants can be particularly prone to burn from neem oil.
Looking for the perfect neem oil? Shop Super Neem Oil, our signature blend with a high concentration of neem oil for superior results.
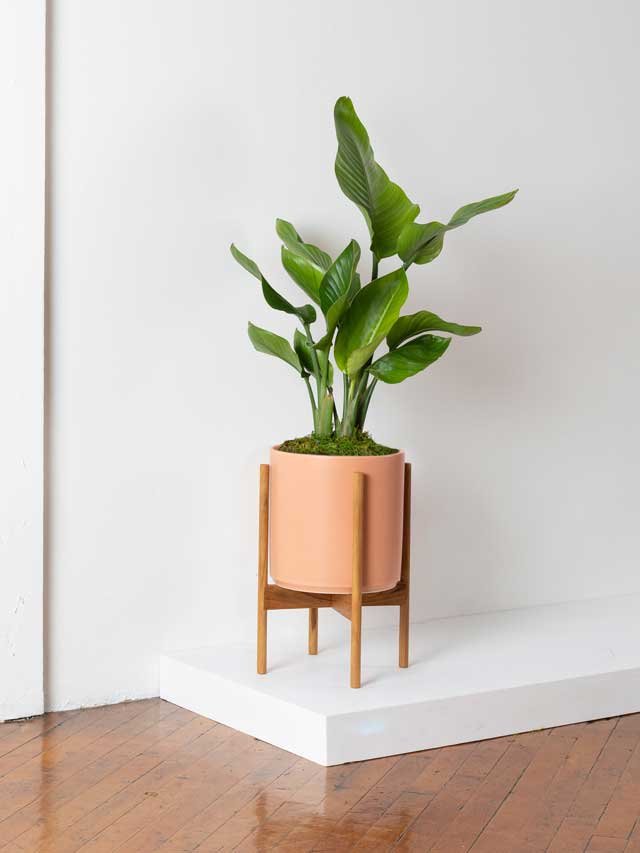
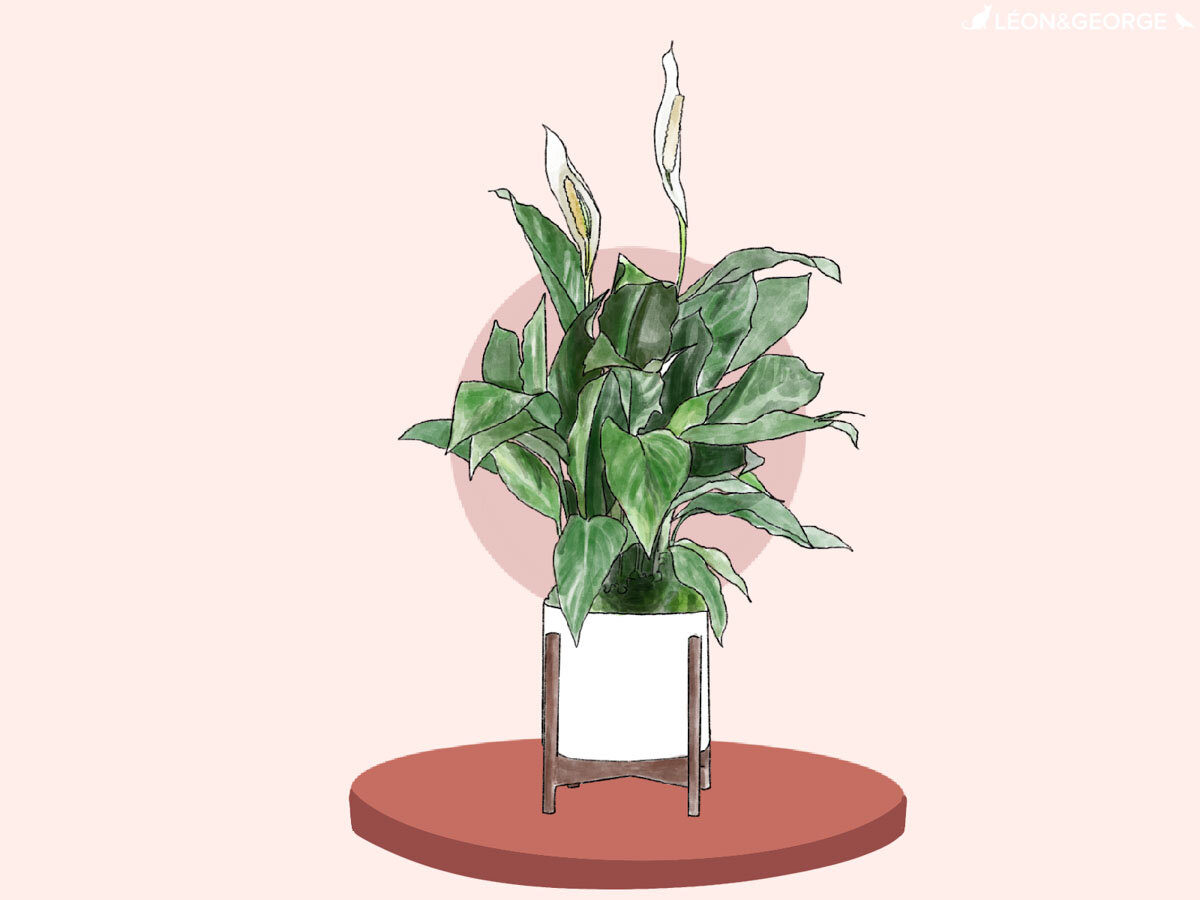
Indoor plants, potted & delivered
Premium plants paired with stylish ceramics, plus lifetime plant care support. Order online at leonandgeorge.com